
Are you embarking on a tile installation project, striving for flawless, durable, and aesthetically pleasing results? Understanding the crucial role of cement-based grouts is paramount. From sealing intricate floor tiles in bustling commercial spaces to creating seamless kitchen backsplashes or resilient outdoor patios, the right grout ensures longevity and beauty. At Aximer, we know the intricacies of the ceramic tile industry. As the premier supplier of high-performance porcelain tiles and slabs for commercial, outdoor, high-traffic, and residential applications across the UAE, we also offer comprehensive knowledge to achieve tile perfection.
The Foundation of Flawless Tiling: Understanding Cement-Based Grouts and Grouting
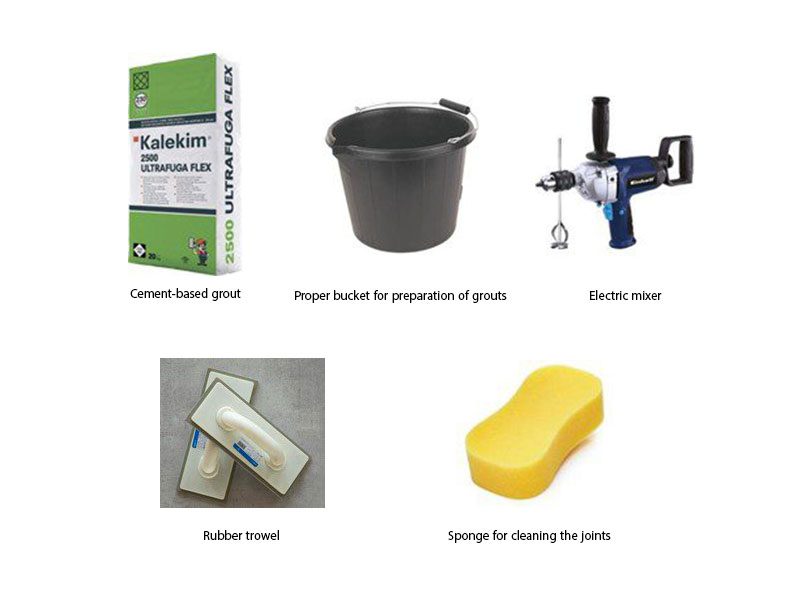
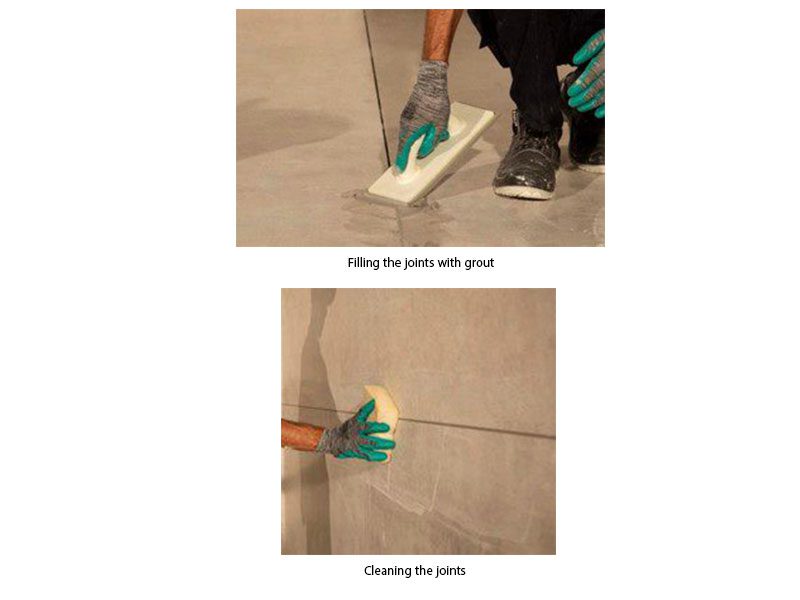
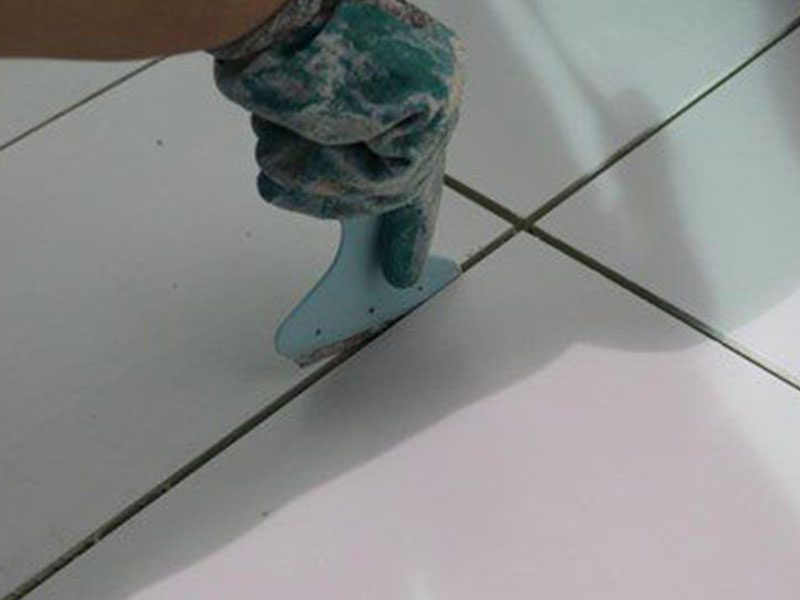
Cement-based grouts are a cornerstone of modern tile installation, as a vital joint filler between tiles. These highly versatile construction grouts are engineered mixtures, primarily composed of cement, aggregates, and polymers, designed to provide exceptional strength and durability to your tiled surfaces. The grouting process involves carefully filling the spaces or joints between newly laid tiles, creating a uniform, water-resistant, and aesthetically pleasing finish. Compared to simpler white cement, advanced cementitious grouts are formulated for non-shrink grout properties, preventing the common issue of cracking and ensuring a stable, long-lasting bond. They offer remarkable ease of application, making them ideal for a wide range of projects. While their strength development is slower than epoxy grouts, and they are sensitive to excessive water during mixing, their cost-effectiveness and ability to perform well in both cold and hot temperatures make them a preferred choice for most applications in the demanding UAE climate. Modern formulations address common problems like colour matching with tiles, variations in colour shading and efflorescence, and grout lines that become too dirty by incorporating advanced pigment dispersion, water repellency, and low water absorption.
Cement-Based Grouts in Action: Aximer Solutions for Every Space
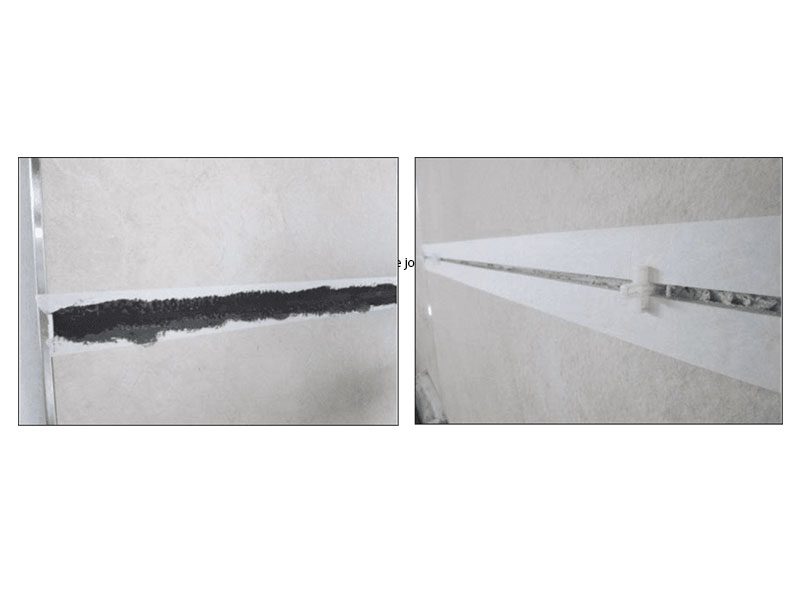
Slurry Joint
Cement-based grouts, when paired with Aximer’s superior porcelain stoneware, open a world of possibilities for both residential and commercial settings, indoors and out. For high-foot traffic areas like bustling shopping malls or hotel lobbies, Aximer’s large-format porcelain slabs — available in robust 160×320 cm or 120×280 cm sizes with options for matte or polished surfaces – provide an incredibly resilient base. Our Natural Concrete effect tiles, for example, offer a modern industrial look that endures heavy use while maintaining a sleek appearance.

In wet atmospheres such as pools and spas, our heat and frost-resistant porcelain tiles, with low water absorption, are ideal. Imagine our Travertine-look tiles with their natural cross-cut patterns, perfectly complemented by a well-chosen grout, creating a luxurious and slip-resistant poolside oasis. For interior walls, from elegant hotel bathrooms to private bedrooms, Aximer’s scratch-resistant porcelain tiles offer durable and design-forward solutions. Our vast selection, ranging from marble-look for classic sophistication to wood-effect for natural warmth, is built to withstand the UAE’s challenging climate, ensuring your investment remains beautiful for years to come. Whether you envision a minimalist design or a dramatic statement, Aximer’s diverse product profile, from 60×120 cm to 160×320 cm sizes and a spectrum of colors, allows for seamless integration into any design vision.
Partnering with the Best: Aximer’s Extensive Brand Portfolio
Aximer is committed to providing the UAE tile market with only the highest quality porcelain tile and slab products. We proudly supply innovative and durable solutions from leading international manufacturers. Our portfolio includes acclaimed Italian ceramic giants such as Saime Ceramiche, Ceramiche Supergres, and Famarella, renowned for their cutting-edge designs and superior craftsmanship. We also bring the vibrant aesthetics of Spanish design through our collaboration with Imperio De Ceramica, ensuring a diverse range of styles and technical specifications to meet every project’s demand.
Experience Aximer: Visit Our Dubai Tile Shop or Explore Online
Ready to see the possibilities firsthand? Our tile shop in Dubai, UAE, houses our exclusive showroom, offering an immersive experience where you can physically explore our vast range of porcelain tiles and slabs. For those searching for a “tile shop near me” in Dubai, Aximer is your destination for quality and expert advice. Can’t make it in person? Our user-friendly website at (https://aximer.ae/) allows you to effortlessly browse our entire collection. Utilize our intuitive search filters to discover the perfect porcelain stoneware products by sizes, diverse looks (effects) like cement, wood, travertine, marble, metal, or stone, various surface options (polished, matte, relief, natural, glazed polished, semi-polished, soft matte), and an extensive palette of colors for your walls, floors, or any other tiling needs.
Your Questions Answered: Contact Aximer’s Experts Today
Navigating the world of cement-based grouts and tile installation can be complex. Whether you have questions about the ideal grout for your Aximer porcelain tiles, need technical assistance for your flooring or wall cladding installation, or simply seek guidance on achieving that perfect finish, our team of experts is ready to assist. We invite you to contact us with any inquiries; our knowledgeable staff is dedicated to ensuring your project’s success. Your vision, combined with our expertise, creates extraordinary spaces.
Frequently Asked Questions about Cement-Based Grouts
What is cement-based grout?
Cement-based grout, also known as cementitious grout, is a common joint filler used in tile and stone installation. It’s primarily made from cement, aggregates, and polymers, designed to fill the gaps between tiles, providing structural integrity, water resistance, and an aesthetic finish.
What are the disadvantages of cement grout, and can you use cement as grout?
While convenient, traditional cement grout can have disadvantages like slower strength development compared to epoxy grouts, sensitivity to excessive water during mixing, and lower mechanical properties. You cannot use pure cement as grout; it lacks the necessary additives (like polymers and aggregates) found in specially formulated cement-based grouts, leading to cracking, poor adhesion, and lack of durability.
What is grout, and what is grouting in construction?
Grout is a dense fluid mixture used to fill gaps or reinforce structures, often in construction. In tiling, “grout” refers to the material used to fill the spaces between tiles. “Grouting” is the specific process of applying this material to seal the joints, protect the tile edges, and provide a finished look to a tiled surface.
What are the three types of grout?
The three primary types of grout used in tiling are:
- Cementitious Grout:
The most common type is made from cement, sand, and water, with polymer additives for enhanced performance. It’s versatile and widely used for various tile installations. - Epoxy Grout:
A highly durable, stain-resistant, and chemical-resistant grout made from epoxy resins and a hardener. It’s ideal for demanding environments like commercial kitchens, hospitals, and high-moisture areas. - Furan Grout:
A highly specialized, chemical-resistant grout is used in industrial settings where exposure to harsh acids and chemicals is expected. It’s typically black and more difficult to work with.